Some ideas start with a very clear goal. Others build quietly over time, piece by piece, until they eventually come together into something more defined.
The NS‑VOD is very much in the second category.
After building a number of amplifiers and spending a lot of time studying the schematics behind the classic designs, I’ve built up a fairly solid sense of what I like — and just as importantly, what I don’t. Alongside that, there’s always a running list of ideas at the back of my mind: what would happen if this was combined with that?
This amp grew out of exactly that kind of thinking.
Starting Point — The Vibroverb
After finishing my ’64 Vibroverb, I found myself coming back to it again and again. There’s something about that blackface Fender preamp — the clarity, the openness, the way it sits — that I find incredibly satisfying.
But in practice, I tend not to rely on onboard effects. As much as I like the Vibroverb’s vibrato and reverb, I generally reach for external pedals instead. A good reverb pedal, and my own Univibe-inspired VibraC, cover that ground for me in a more flexible way.
So the first part of the idea was simple:
Take that Vibroverb-style foundation, strip it back to the essentials, and build something that’s clean, open, and properly pedal-friendly.
A Shift in Form
Most of the amps I build for myself are head units, usually with a bottom-mounted chassis in the Marshall style. When working on the Vibroverb, I really enjoyed the different construction approach — top-mounted chassis and the angled control panel.
That stayed with me.
At that point, the VOD was starting to take shape as:
- A Fender-style preamp
- In a Fender-style chassis format
- Stripped back to a simpler, more focused platform
Then it paused.
New Influences
While this idea sat in the background, I moved on to other builds — notably the NS‑987 and the Overdrive Special recreation.
Those two amps added the missing pieces.
The NS‑987 reinforced just how effective a cascading gain stage can be — a clean foundation pushed into something more aggressive, but still controlled.
At the same time, working through the Overdrive Special gave me a much deeper appreciation of the Dumble overdrive topology — how it behaves, how it feels, and how it differs from the more familiar Marshall-style gain structures.
At that point, the next step in the VOD became obvious.
Rather than invent a new gain stage, use something already proven — and use it properly.
The Core Idea
So the concept evolved into a full signal path:
- Blackface Fender-style preamp for clarity and headroom
- Dumble-inspired overdrive stage for controlled, articulate gain
- Marshall-style power section, running KT77 output valves
The KT77s are a personal preference that carried over from the NS‑987. They retain much of the familiar EL34 character, but with a little more headroom and control at the edge of breakup, which suits this kind of hybrid design.
On paper, it’s a combination of well-understood topologies — which made the schematic stage relatively straightforward.
From Schematic to Physical Design
Once the circuit was defined, I moved into layout in Illustrator, but quickly ran into a familiar problem:
You can’t finalise a layout until you know exactly what you’re building it into.
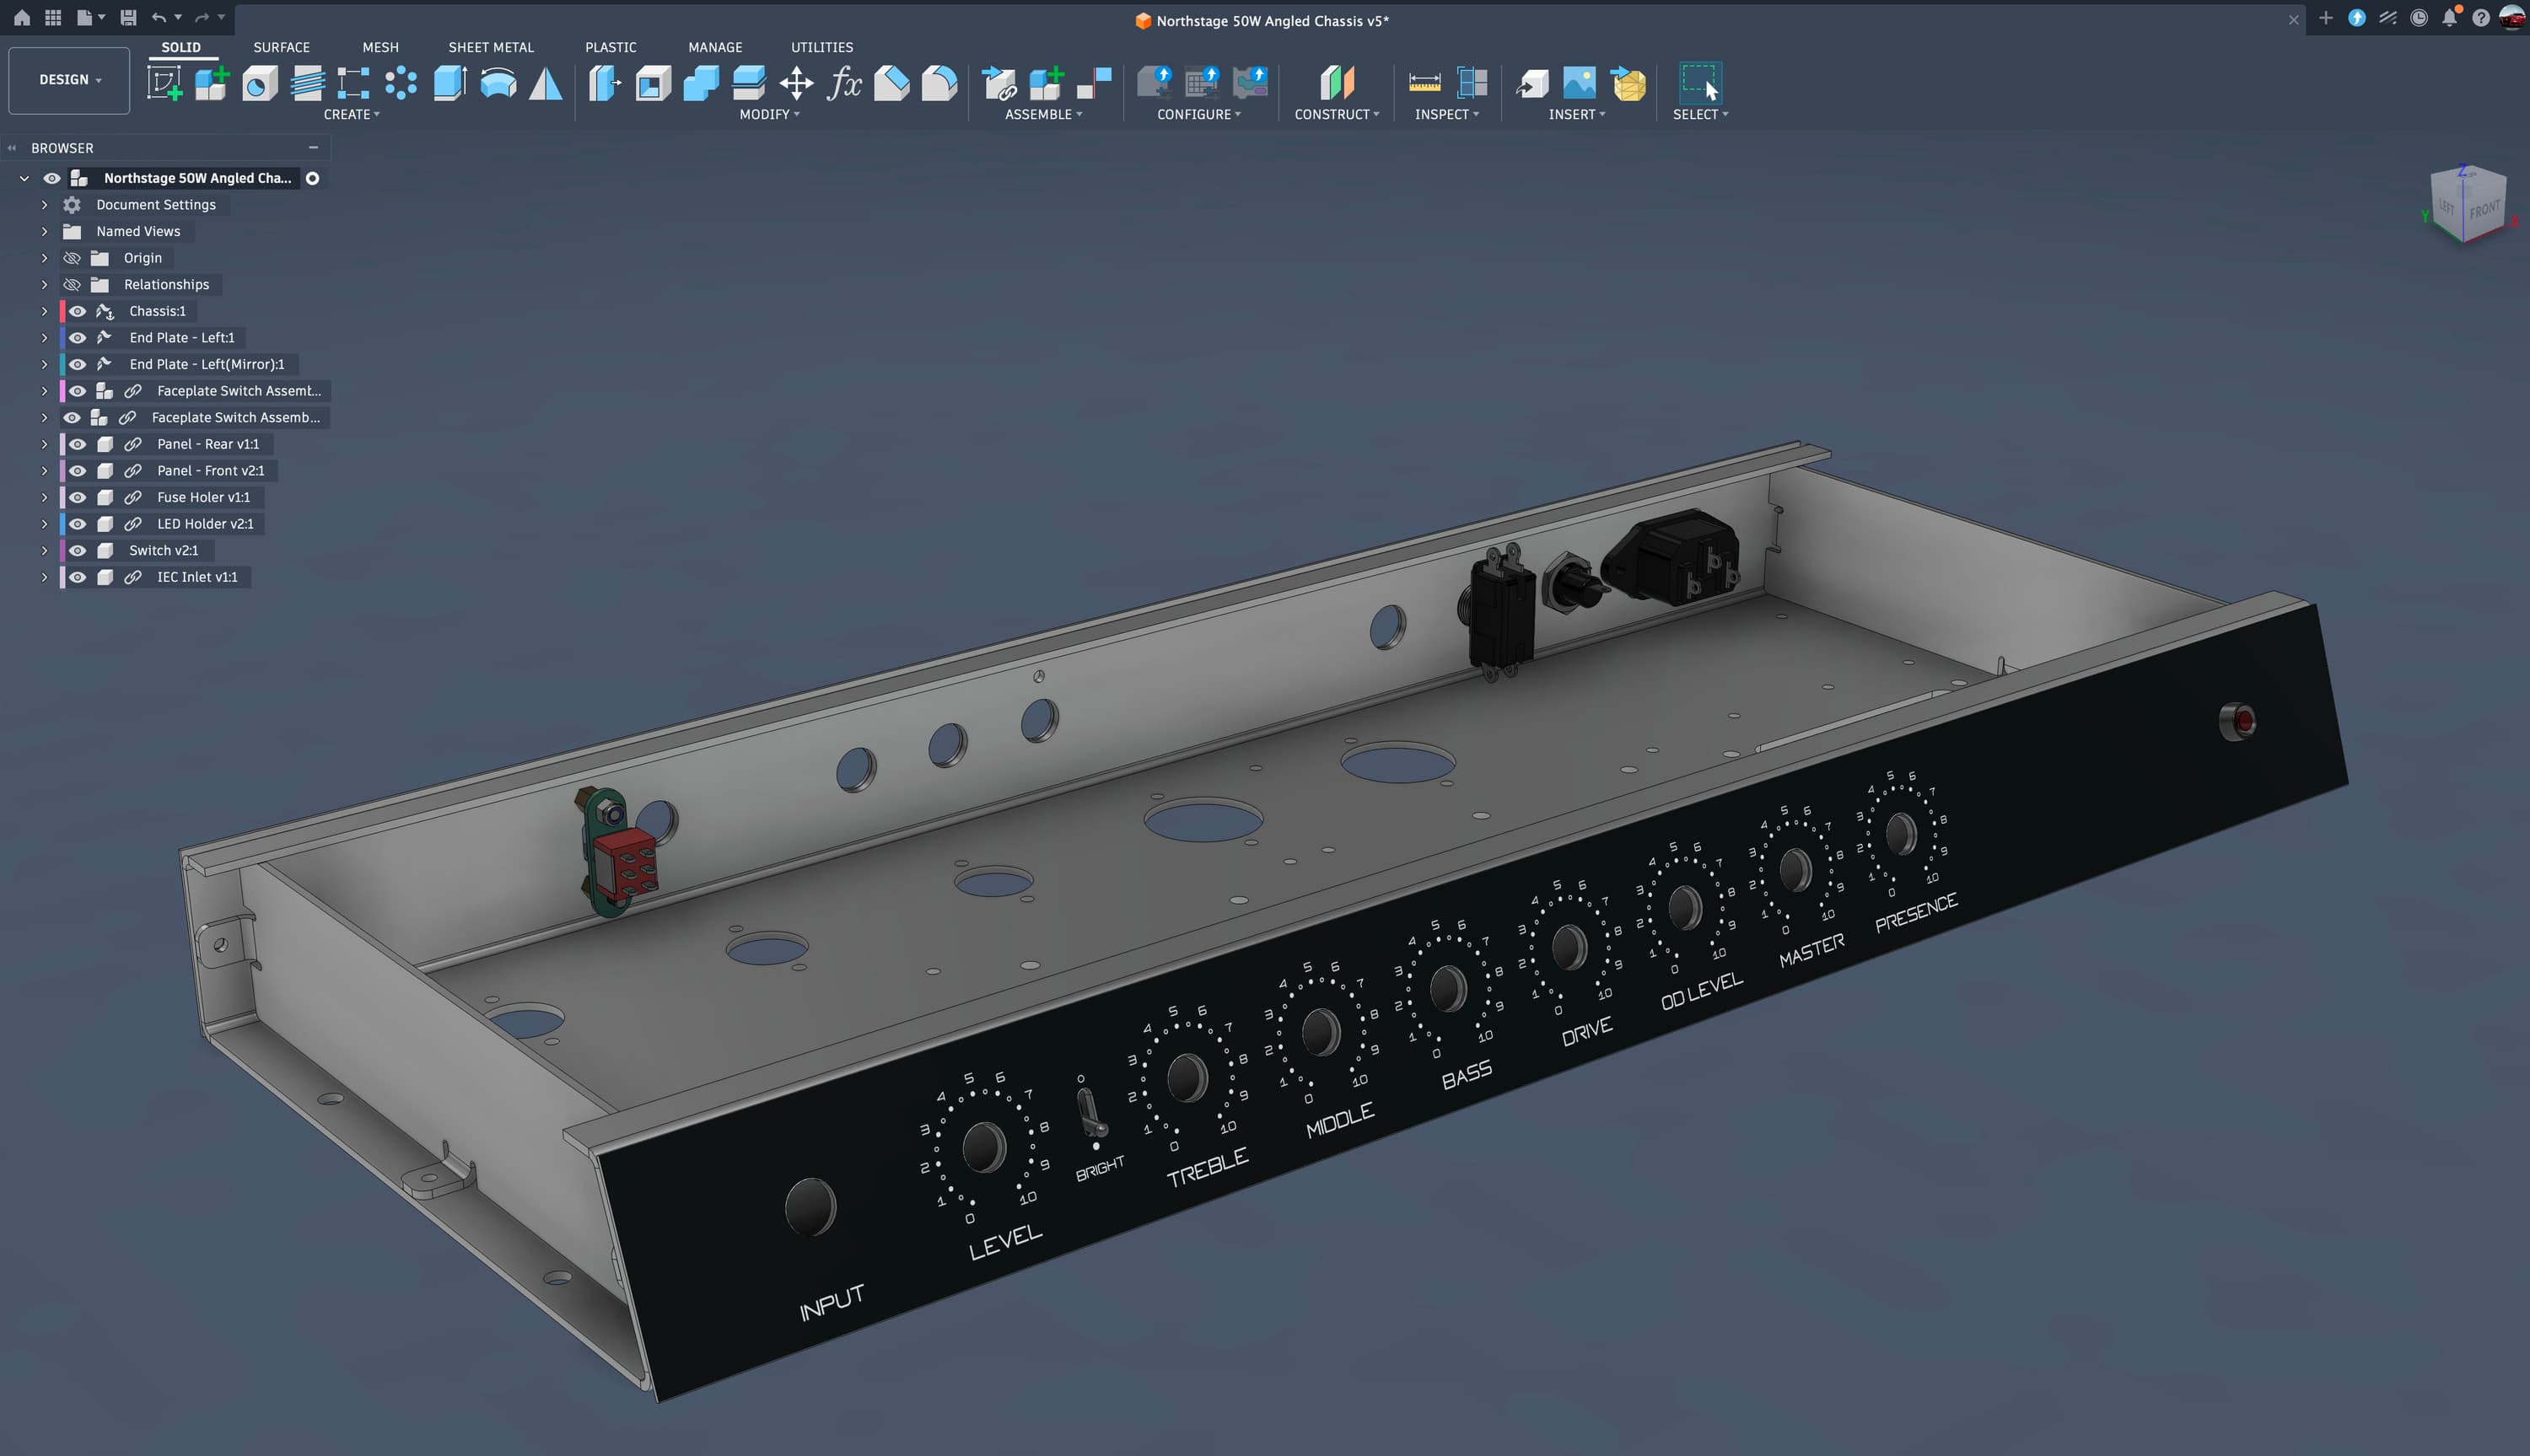
So the focus shifted into Fusion, working through a completely custom chassis design — this time incorporating the angled front panel.
It’s not an especially difficult problem in isolation, but it does require careful thinking. One thing I’ve learned the hard way is that it’s very easy to design something that works perfectly on paper but becomes awkward, or impossible, to physically assemble.
With a working chassis design in place, I could return to the layout, finalise component placement, and then loop that information back into Fusion to define all the necessary cut-outs and mounting points.
As with most of these things, that process wasn’t entirely smooth — a couple of holes were missed in the first pass, which only becomes obvious once metal exists — but that’s part of the process.
Current State
At the moment, the project is at an interesting point.
- All electronic components have been selected and are ready
- The chassis has been fabricated and assembled
- The enclosure has been designed, including tolex and grill cloth choices
- The power PCB is complete
What remains is the final turret board layout, after which the build can begin.
What Comes Next
Although the design is based on known and well-proven circuits, the real work begins when everything is powered up for the first time.
That’s where small decisions start to matter — how the amp feels under the fingers, how it responds dynamically, and whether it does what the idea suggested it should.
If something isn’t quite right, that’s where the process becomes more experimental again — adjusting values, listening carefully, and refining until it lands where it needs to.
Subscribe to keep informed
If this one interests you, you can subscribe via the footer to follow the build as it progresses. I’ll be sharing updates as it moves from bench to first test, and eventually into a finished amplifier.